Here's all the information you need to enter an Incidents report in NFIRS 5 Alive. At the Command Window press the Incidents button once.

Press the Add Record button. The Incidents data entry view appears. Note how FirePoint structures the Incidents application to look nearly identical to an NFIRS 5 data entry form.
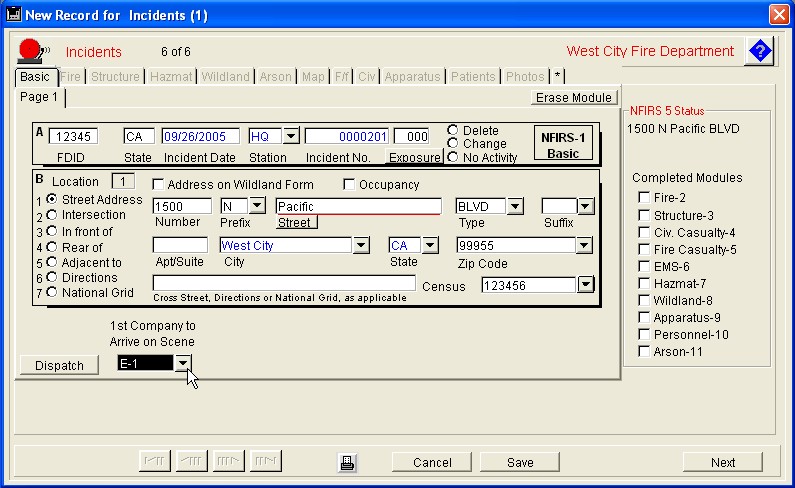
This is page 1 of the Basic form used in NFIRS 5. Notice you can move from field to field by pressing the Tab key. Fields with default values are colored in blue. Fields entered manually are black. The red line under the Street field indicates a search field. Simply enter the first few letters of the street name and press the Street button to locate matching streets. Matches will automatically complete other related fields based on data entered in the Streets table.
If the incident occurred in an occupancy you should put a check mark in the Occupancy field. This will allow you to select the occupancy record and save you time since all address / district information pertaining to the occupancy will be imported automatically.
The NFIRS 5 modules are listed on tabs at the top of the Basic form. For many incidents all you need to complete is the Basic form. If you have a fire, however, you will have to complete at least one additional fire form depending on the type of fire encountered.
Notice the list of modules on the right side. It shows no modules have been completed. This list will remain visible whenever you are entering Incident information.
Enter information in each field using the down-arrow buttons to pick options from a list.
When you are finished entering information on page 1, press the Next button to begin entering information on page 2.
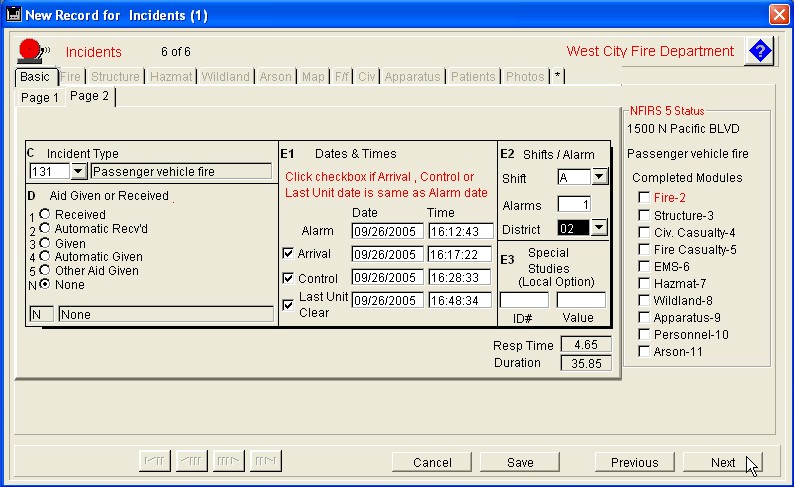
Notice when selecting Incident Type a hierarchical list is presented. First select the category then the specific Incident Type code within the category.
Notice when you select Aid Given fields will appear or disappear as required by your selection.
FirePoint calculates and stores your Response Time and Duration.
Notice the Completed Modules area on the right. Because this is a vehicle fire you see the Fire module in red. Red indicates the Fire Module is now required.
Press the Next button to move to the next page.
Notice, if you entered the required information as above FirePoint generates an error message.
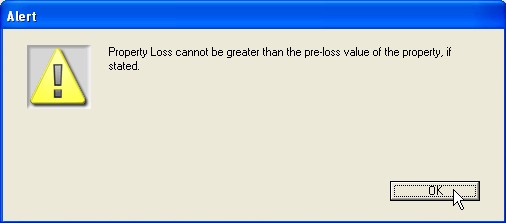
FirePoint performs an error check each time you move from page to page. This makes sure the current page is accurate before you are allowed to move on to the next page.
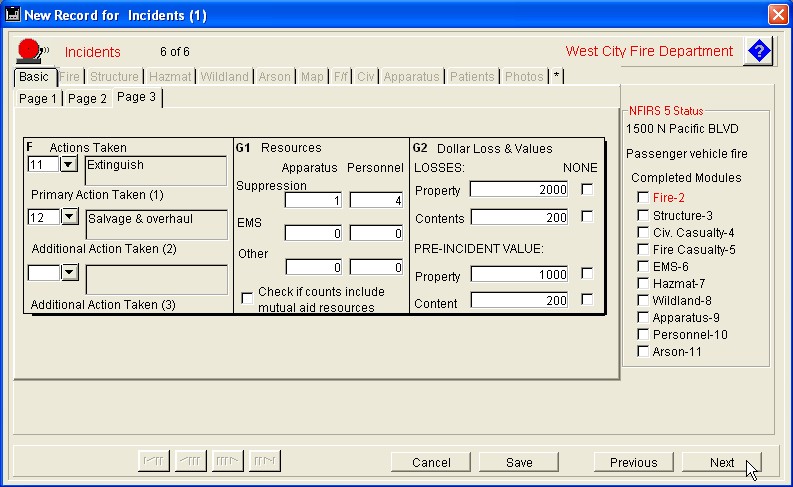
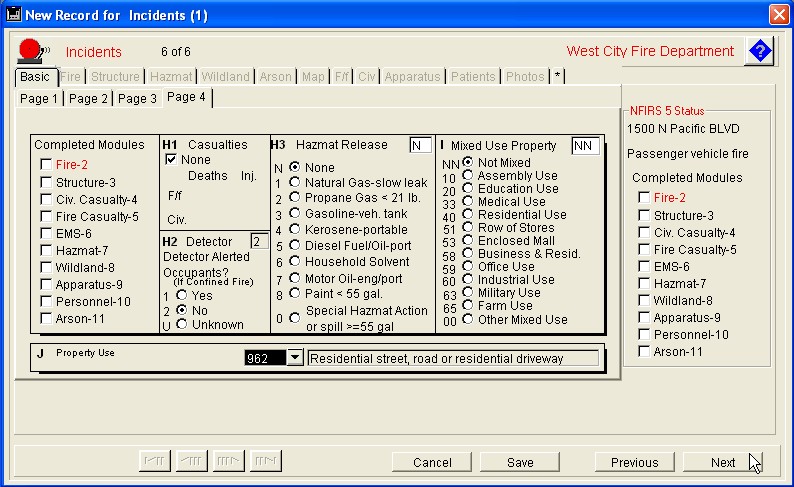
Complete page 4 by making entries in the appropriate areas.
Complete remaining pages by pressing the Next button.
This is Page 8 of the Basic module. Unless your FirePoint Administrator has set-up an optional additional page of user defined fields, this will be the last page of the Basic module.
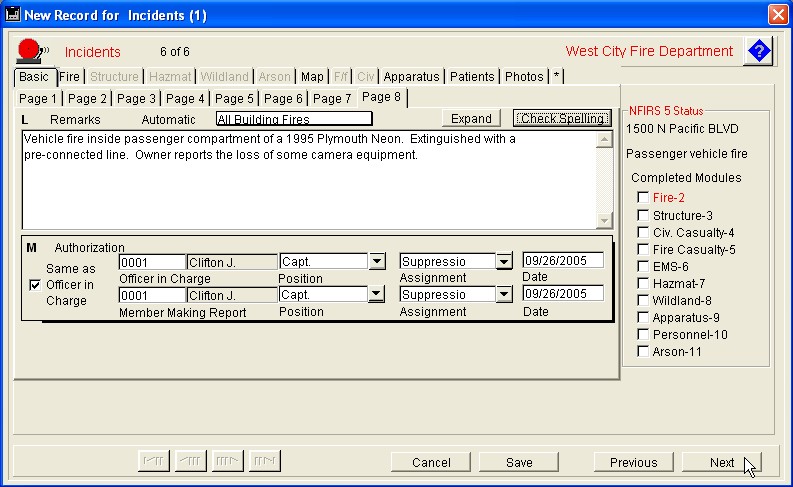
Notice applicable module tabs are beginning to activate at the top of the screen. If your FirePoint Administrator has set-up an automatic narrative simply select it from the list of available narratives. Here the only available automatic narrative is for "All Building Fires".
If you have a long narrative you can get extra room by pressing the Expand button. The Check Spelling button will perform a spell-check on the narrative you've entered.
If there's a Next button in the lower-right the FirePoint Administrator has set-up a Supplemental data entry page. Complete that page then press the Save button. Otherwise, press "Save" to complete the basic module.
Notice when you attempt to save an incomplete record you get an error message that informs you the fire module is required. You can then press the Fire tab and enter the required information in the Fire module just like you entered the information in the Basic module.
You may, however, choose to save the incomplete record. If you choose this option you will see the following choice box.
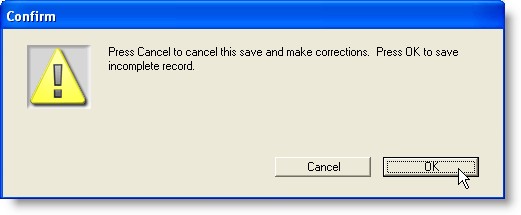
It's a real convenience being able to save incomplete records especially when you are tight on time. However, incomplete records should not be allowed to accumulate. To make sure you are aware of incomplete Incident records FirePoint marks each incomplete record with an unmistakable blue color.
To complete the incomplete incident simply double-click on the incident to open it and begin data entry.
Notice FirePoint tells you exactly why the incident is incomplete in red letters.
Press the Fire tab to complete the Fire Module in the four pages of Fire data. When you are done press the Save button in the Fire Module and the Save button in the Basic form.
Since most fire departments track the response of individual Apparatus to incidents it's now time to enter that data. Notice each incident has at least one piece of responding apparatus. To enter Apparatus press the Apparatus tab.
You will soon see the area where you may enter the response of one or more pieces of Apparatus. This is the Apparatus list view for this incident.
Press the Add button.
As soon as the Add button is pressed FirePoint creates an Apparatus record using Incident data to automatic complete fields with default data. To view the Apparatus record simply double-click on the Apparatus record you just created.

This is page one of the Apparatus data entry area. Most of the required fields have already been completed.
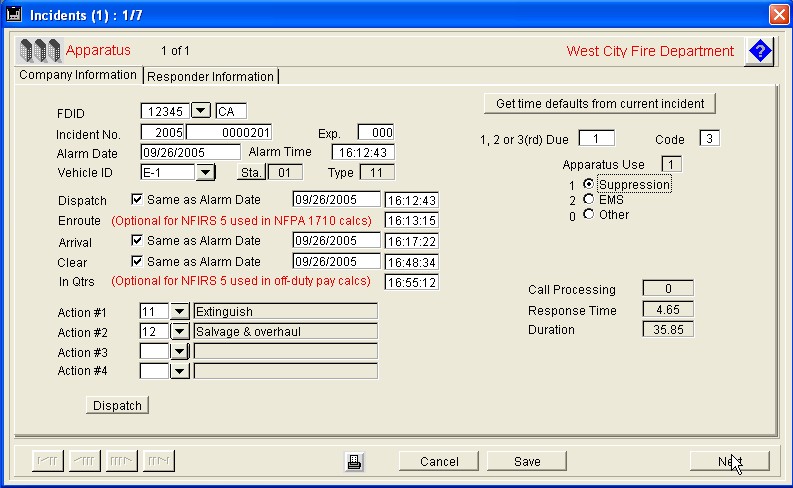
Makes sure all fields are completed properly then press the Next button.
This is page 2 of the entry form.
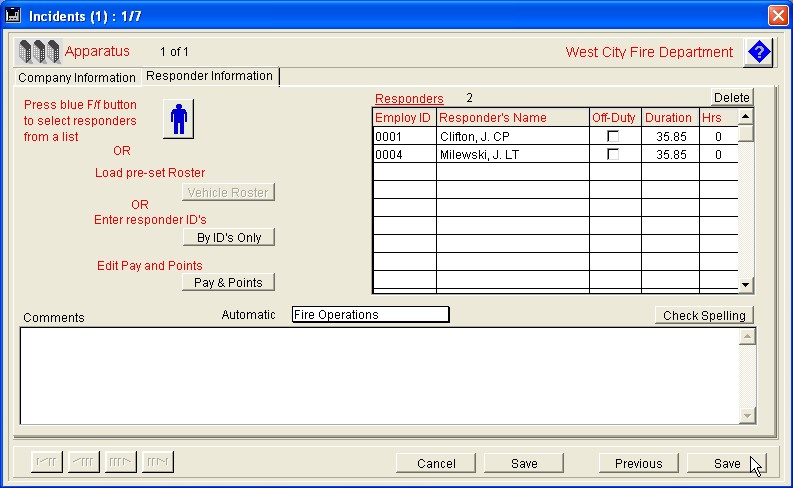
If you press the blue icon you can select responding personnel from a list. Simply click on those personnel who responded on the piece of Apparatus. When the selection has been made the personnel will appear in a list on the right side of the screen. Each individual Responder record may be edited by double-clicking on it, if necessary. Press the Save button to save the Apparatus record.
You may, if you wish, simply enter ID numbers rather than selecting responding personnel from a list. Press the By ID's Only button. If your fire department pays for off-duty responses use the Pay & Points button to enter payroll or point information.
You may select an automatic narrative from above the Comments area. Otherwise type your comments and then press the Check Spelling button to check spelling. Press the Save button to Save the Apparatus record.
At the Apparatus list view you may enter additional apparatus. When complete press the Save button to return to the Basic area.
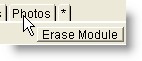
If you wish to attach a photograph to an incident press the Photos button.
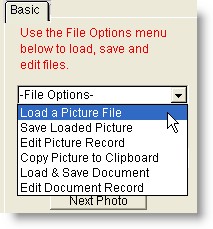
The loaded picture will appear on the screen. If the picture is acceptable select the Save Loaded Picture option to save the picture. You may edit an existing (saved) picture by selecting Edit Picture Record. If you wish to copy an existing picture into a report for pasting into Microsoft Word or any other program simply select the Copy Picture to Clipboard option.
In addition to photos FirePoint allows you to associate documents, such as critical incident reports, with specific incidents. Simply select the Load & Save Document option and find the file you wish to associate with this incident. Existing document records may be edited by selecting Edit Document Record.
Press the Basic or Return button to return to the Basic module.
Once in the Basic area press the Save button to save the entire incident.
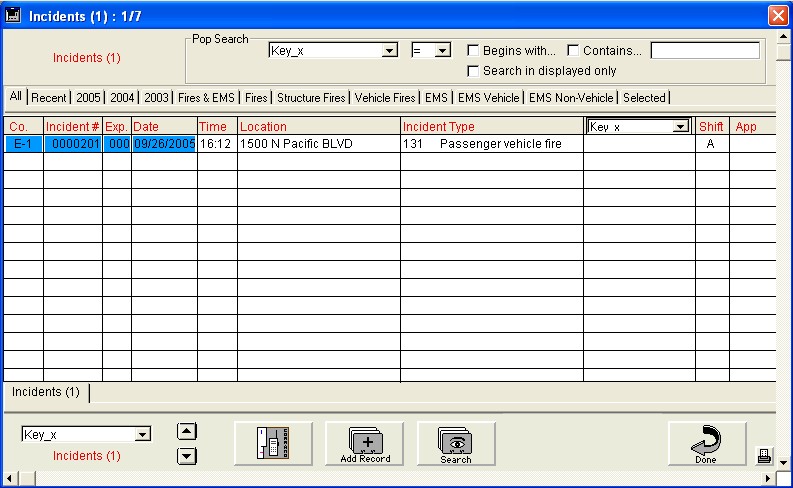
Each time you press a button FirePoint performs an error check. If everything is OK the record will be save. You will see the new record at the top of the Incidents list view.
If you wish to print one or more incidents from the Incidents list view simply click on the incident records you wish to print then press the print icon in the lower right corner of the screen. Select the option to do a Quick Report printout.
Record Cloning Saves Time
All FirePoint Incidents and Patients records may be cloned. To clone information in an existing record into a new record click once on the record you wish to clone, then press the Add Record button. Here's what you will see.
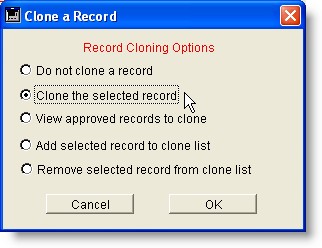
If you select the second option default information will be copied to the new record. You may also establish and manage a list of approved records for cloning false alarms, system malfunctions, car fires, or anything else you wish.
Entering New and Exposure Records
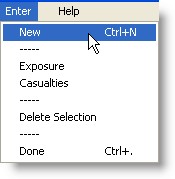
The New option in the Enter menu works like the Add Record button. If you wish to add an Exposure to an incident, click on the incident to select it, then select Exposure.
Approving Records
Some fire departments may wish to have upper-level officers approve Incidents, Patients and Classes records after they have been entered by on-duty personnel. For this task FirePoint utilizes the App. column on the far right side of the output layout. Click once on the record you wish to approve. Now press the invisible button located above the print icon and to the right of the Done button. When the dialog appears enter the three character initials you wish to display in the Approval (App.) column. The approval function only operates for users in the Captains group or above.
Some Comments about Incident Numbering
Default incident numbers are suggested by FirePoint. If you wish to turnoff this function do so by pressing the Maint button, the Preferences button and see #3 Auto Number Options.
If you want to change the default incident number at any time go to the list view of Incidents. Choose File Operations from the File menu. Select Reset Incident Number. The next time you press the Add Record button the new incident report will contain the incident number you entered.
If you wish to change an incident number in an existing incident click once to select the incident. With the incident selected click on the File menu and select File Operations. Choose the Change Incident Number file operation. As a shortcut you can click once on the incident you wish to change then press the Shift and "C" keys together to access the Change Incident Number file operation.